
The Essential Guide to Masking Furniture When Replacing Your Drywall Ceiling
The Essential Guide to Masking Furniture When Replacing Your Drywall Ceiling
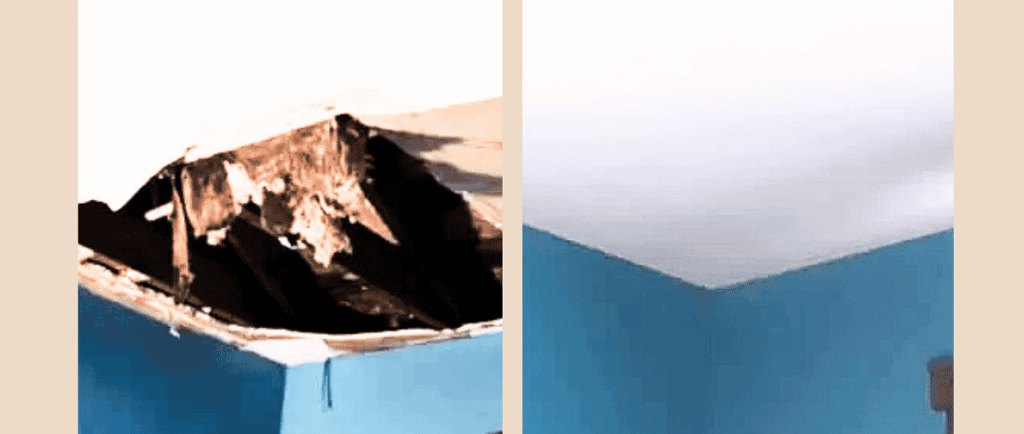
DRYWALL CEILING REPAIRS
MrWalls Drywall & Painting
12/7/20252 min read

Why Properly Masking Furniture is Crucial
When it comes to replacing drywall ceilings, the mess can be quite overwhelming. Dust, debris, and the risk of paint splatters can wreak havoc on your furniture and belongings. That’s why properly masking furniture becomes a crucial step in ensuring that your living space remains intact during renovations. This guide will walk you through the best practices of furniture masking, helping you keep your home neat and tidy.
Gather Your Supplies
Before you dive into masking your furniture, it’s important to gather all necessary materials. You’ll need:
- Painter's plastic or drop cloths
- Masking tape
- Scissors
- A ladder (if required)
Having these supplies on hand will make the process smoother and more efficient. Don’t forget to wear a mask and goggles to protect yourself from dust while working.
Step-by-Step Guide to Masking Your Furniture
Now that you have your supplies, let’s get into the nitty-gritty of properly masking your furniture before tackling your drywall ceiling project:
- Clear the Area: Start by moving any large items away from the workspace. This includes sofas, chairs, and tables that might be too close to the ceiling area you’re working on.
- Cover Pieces with Painter’s Plastic: Use the painter's plastic to cover your furniture, extending it generously around the edges. This will provide the first layer of protection against dust and debris.
- Secure with Masking Tape: Once the plastic is in place, use masking tape to secure the edges. This will prevent any material from slipping during the drywall installation. Be sure that the tape adheres well to the surface of the furniture.
- Double Check Your Work: Take a moment to inspect your masking job. Ensure there are no exposed areas that might be vulnerable to dust or debris. It might help to give everything a gentle shake to see if the covers stay in place.
By following these steps, you’ll effectively shield your furniture from the chaos that often accompanies drywall work, making for an easier clean-up afterward.
Final Thoughts
Replacing your drywall ceiling doesn’t have to be a daunting task. By properly masking furniture, you not only protect your valuables but also streamline your renovation process. Remember, a little preparation goes a long way in ensuring a stress-free home improvement project. Happy renovating!